
Clipchamp's screen and camera recorder allows you to simultaneously record your screen and webcam to produce training videos, react videos, presentations, gaming streams, and many more.
While the recordings are captured together, they can be edited in the timeline separately. This means each video can be resized and placed however you like.
For the ideal outcome, recordings will align if you place them on top of each other in the timeline. The webcam recording can then be altered using freehand editing to place it over the screen recording to give a picture-in-picture appearance.
Step 1. Where to find the screen and camera recorder
Homepage: On the video editor homepage, you will see a record something button. Click on the record something button to open the editor.

Toolbar: You can also access the screen and camera record tool in the editor's sidebar. Click on the tab "record & create". A pop-out window will appear with the options screen & camera, camera recording, screen recording, and text-to-speech. Click on the first option, screen & camera.

Step 2. Start recording your screen and camera
A popup window will appear with permissions. Allow Clipchamp access to your camera and microphone if you haven't used our webcam recorder before. Click allow when ready to proceed.

Your screen will now look like this with a check list. Click on the red record button to continue. Remember, you won't see your camera while recording, so make sure your camera settings are correct before clicking record.

A smaller popup window will appear with screen recording options. Either record your entire screen, window, or Chrome tab. You will be able to see your webcam in the bottom left corner of the popup window.
It's now time to record your screen. You won't be able to see your camera while recording in the tab, window, or screen recording, but it’s working. Once you are happy with your recording, click on stop sharing button at the bottom of your screen.
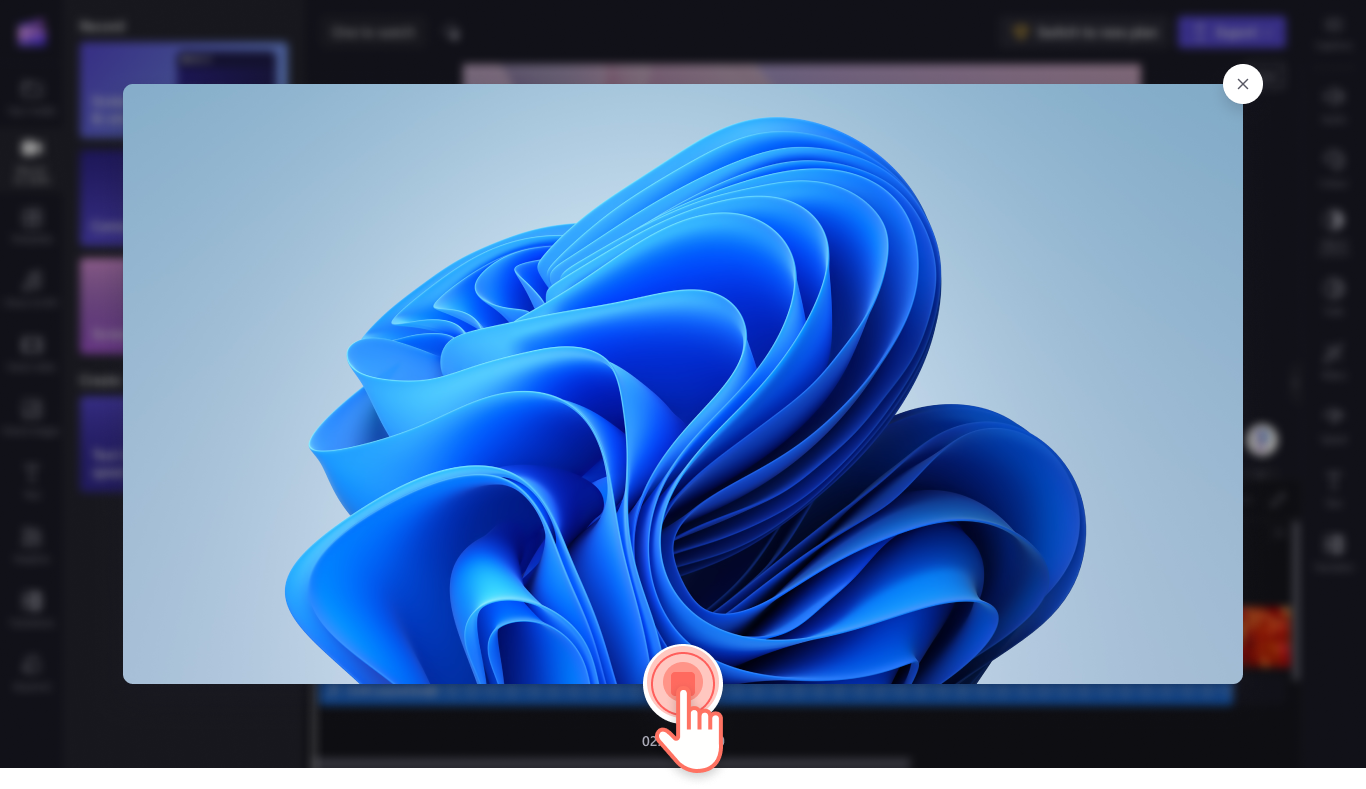
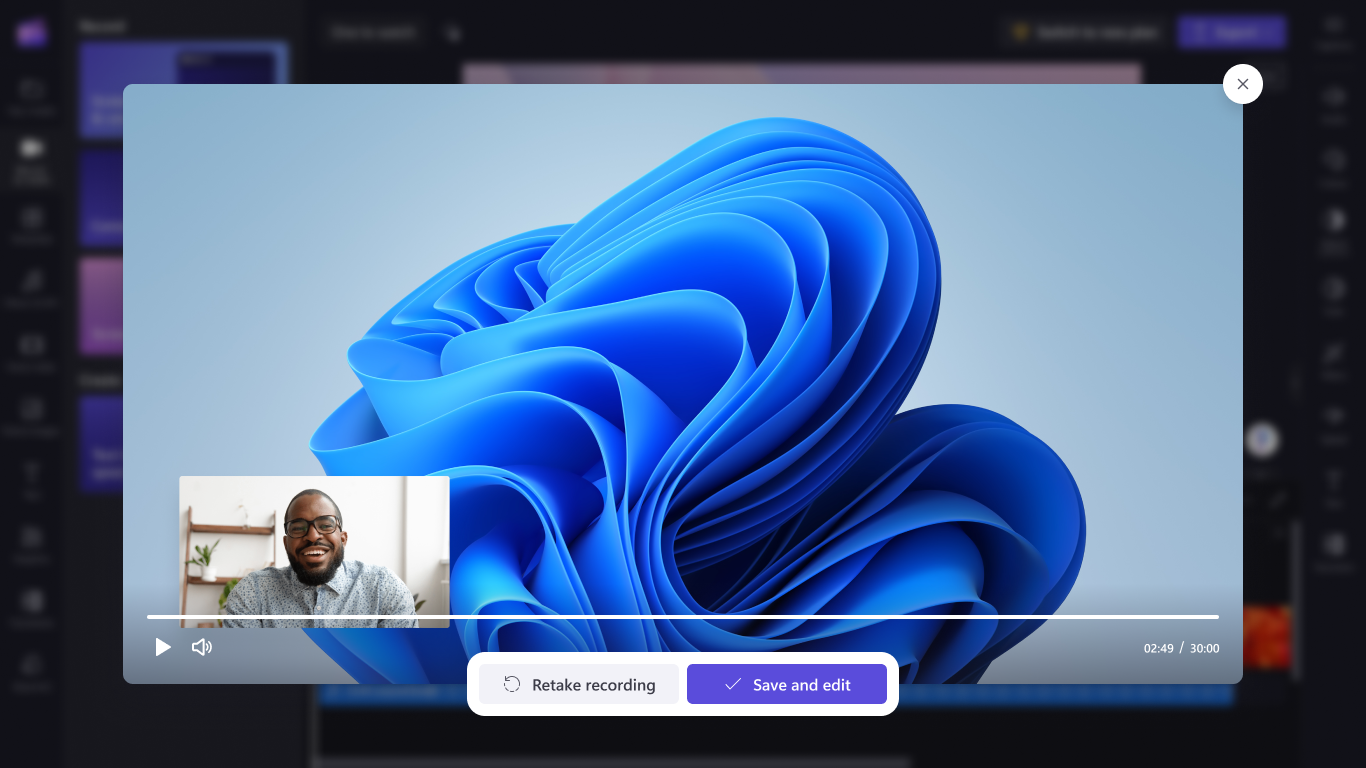
A preview of your screen and camera recording will appear. Here, you can watch your screen and camera recording, click on the retake recording if you would like to redo your video, or click save and edit to return back to the editor.
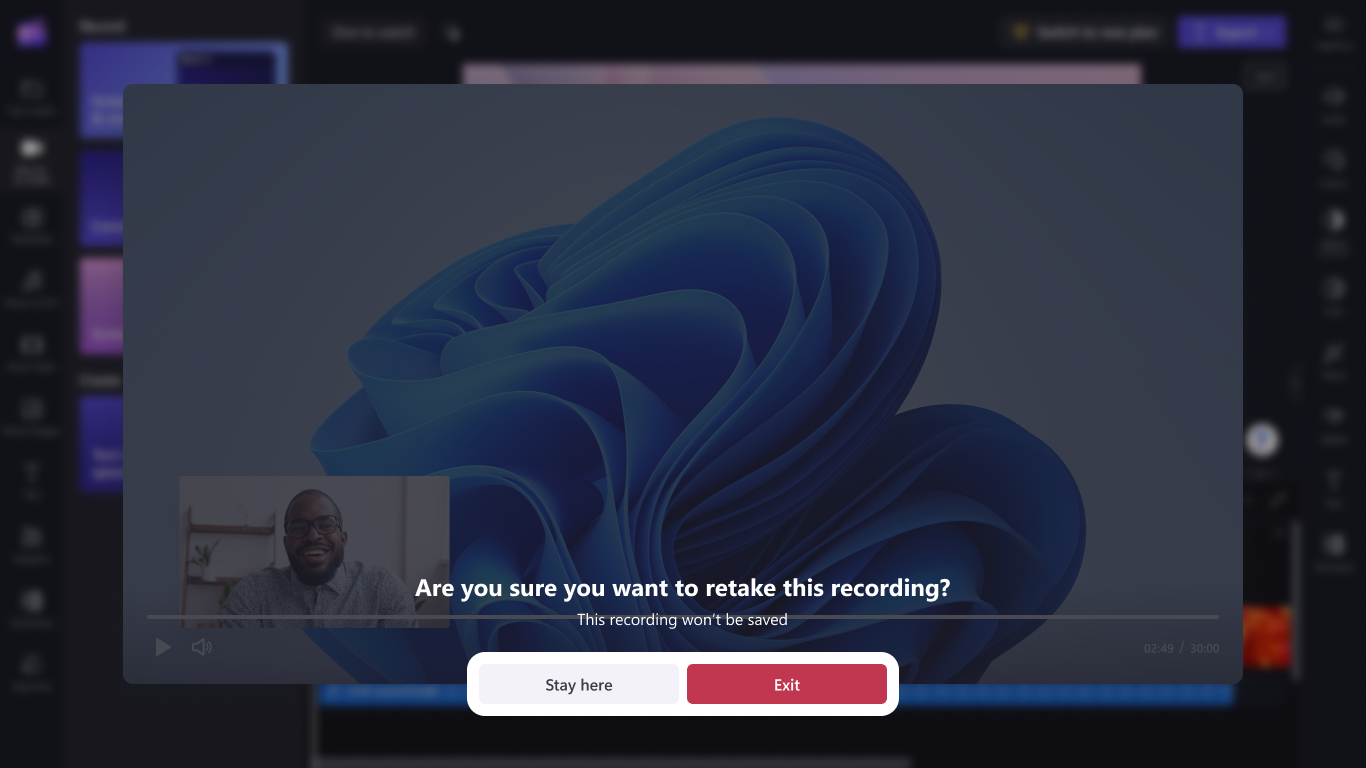
If you want to abandon your video, click on the x button in the top right corner of the video. You will be presented with a new window giving you options to stay or exit.
Step 3. Return to the editor
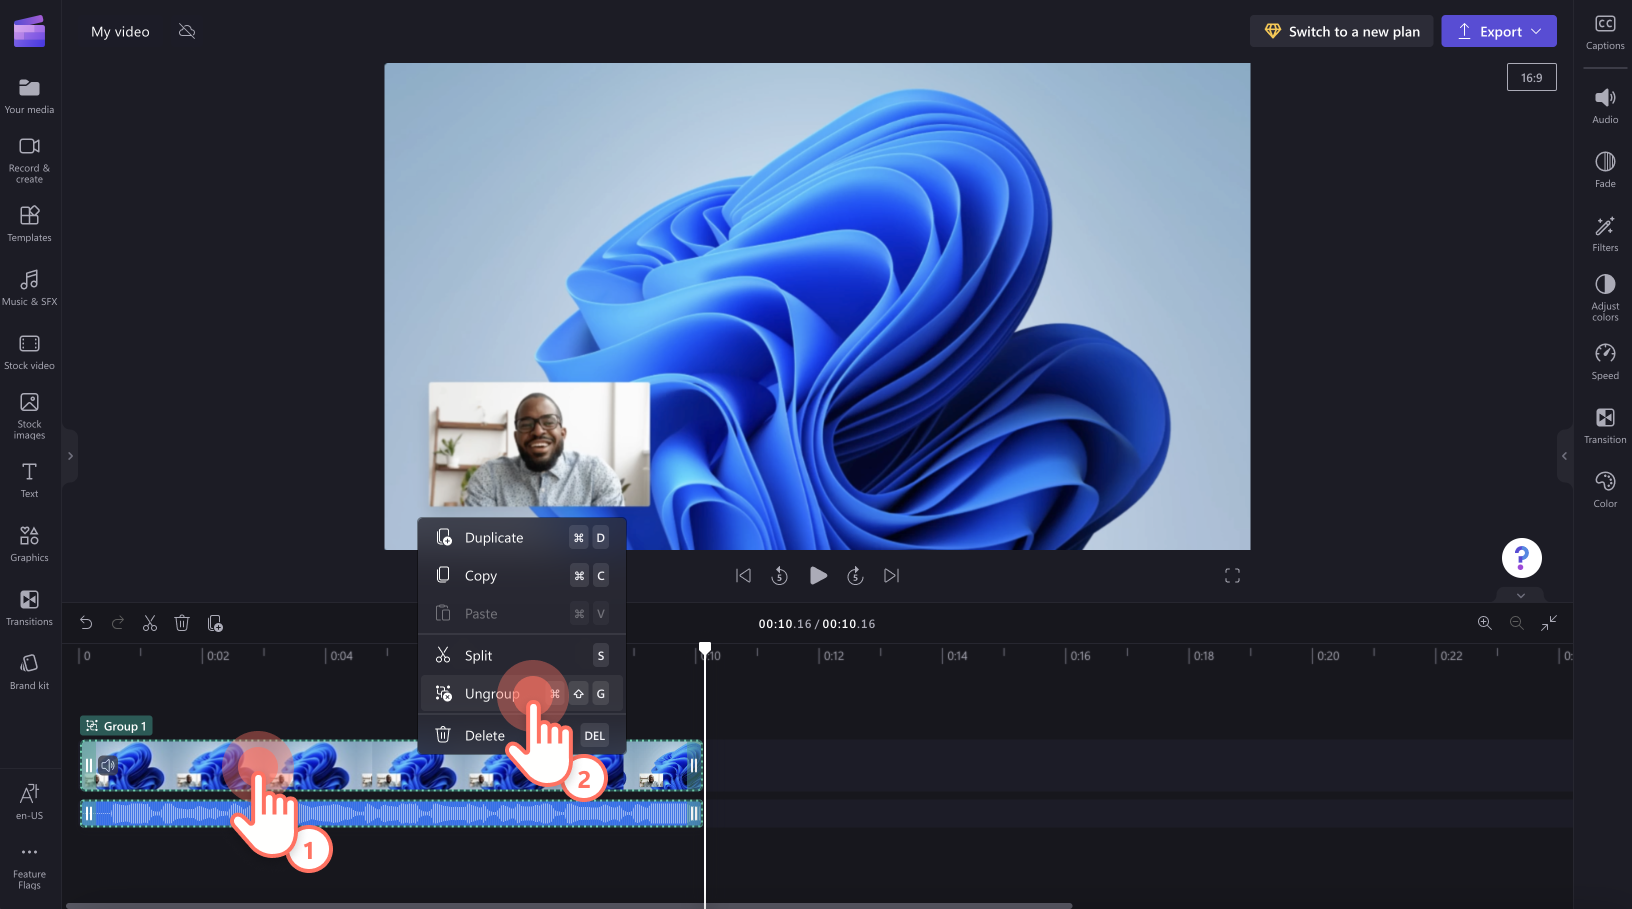
Once back in the editor, your screen and camera recording will automatically be on your timeline, and located in the your media tab on the toolbar.

You can ungroup your timeline assets by right clicking on the media on the timeline, then clicking ungroup.
Step 4. Edit your screen and camera recording
A) Layout
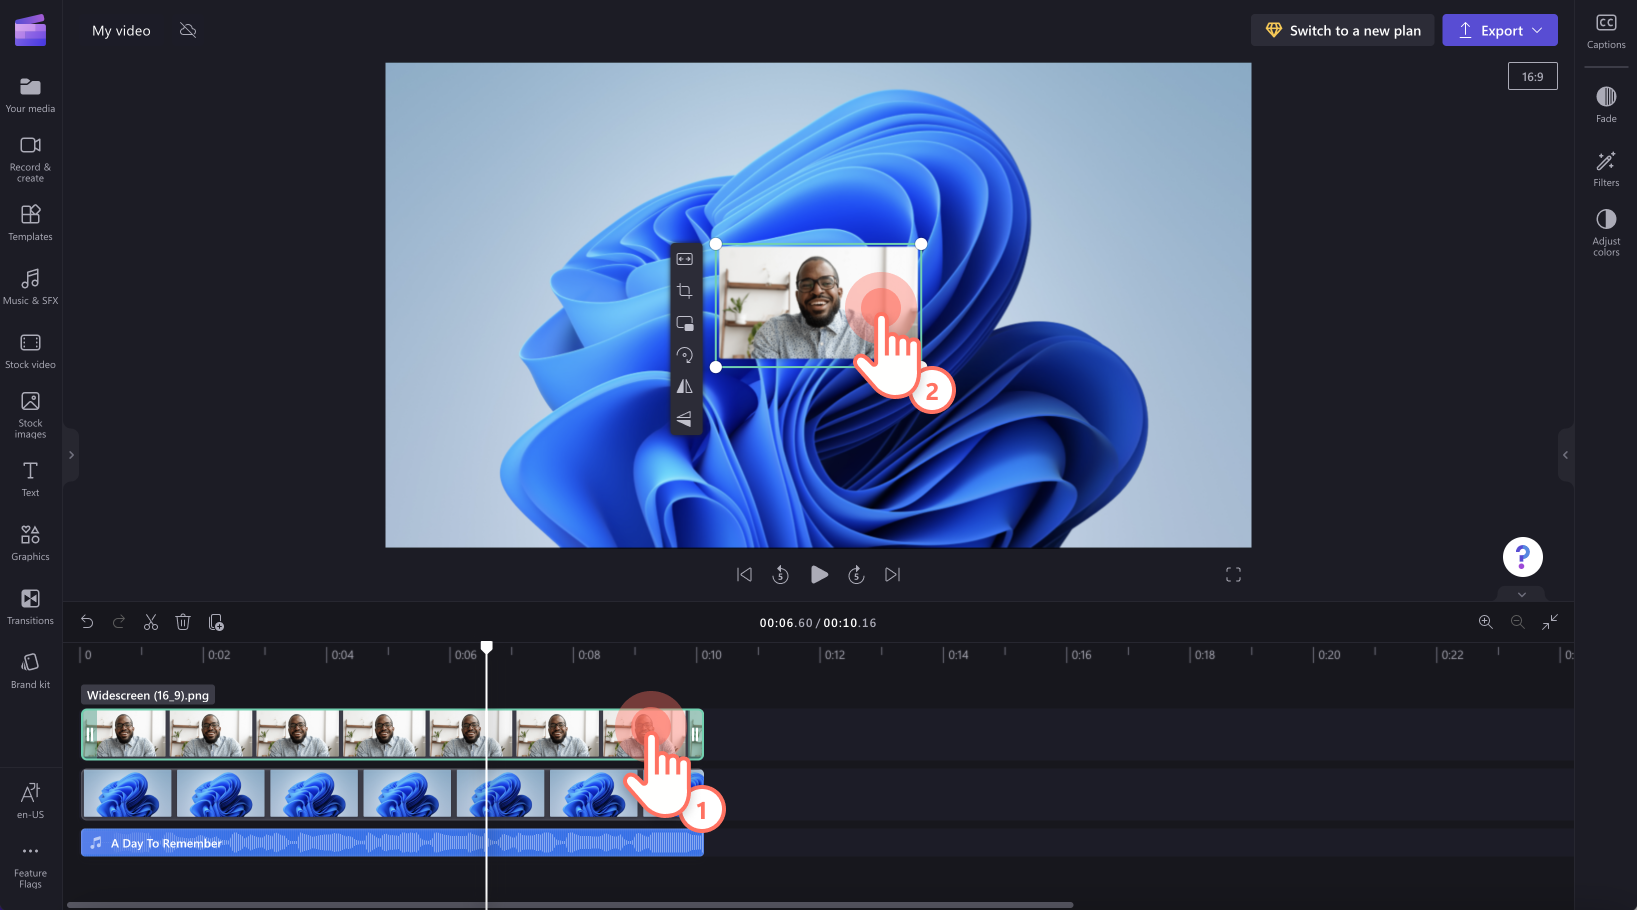
Edit the layout of your video. Click on which video you would like to edit on your timeline. Your selected video will be highlighted in green. You can freely move your webcam recording around the screen by dragging and dropping the webcam video around the video preview screen.
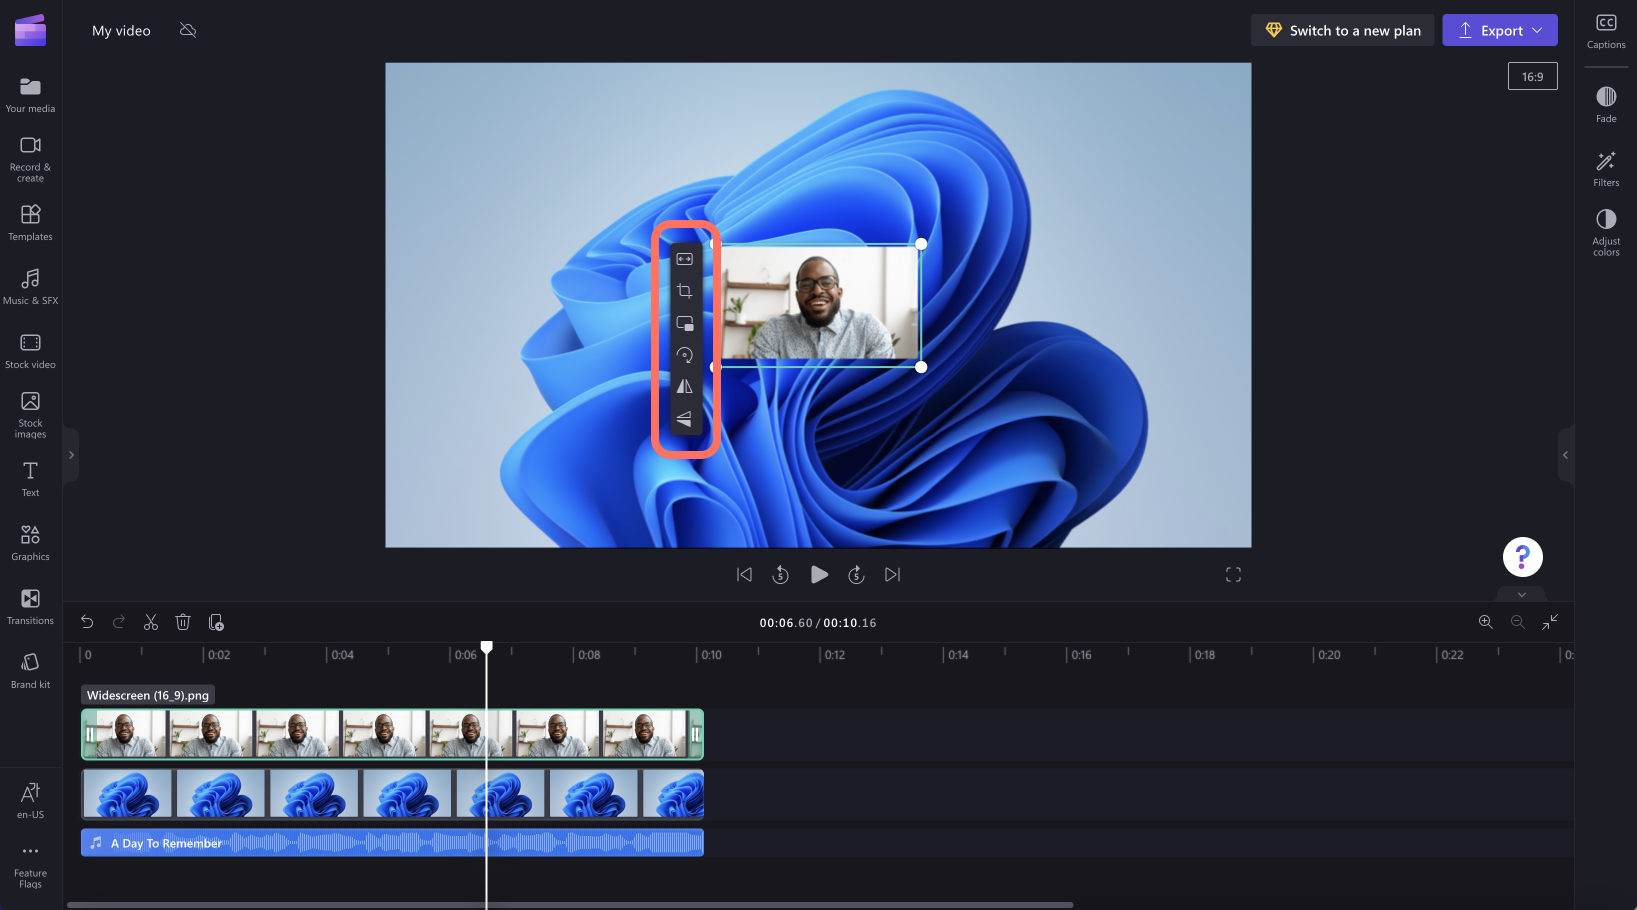
You can also use the editing features on the media's property panel. These include fit, crop, picture-in-picture, rotate, flip horizontal, and flip vertical.
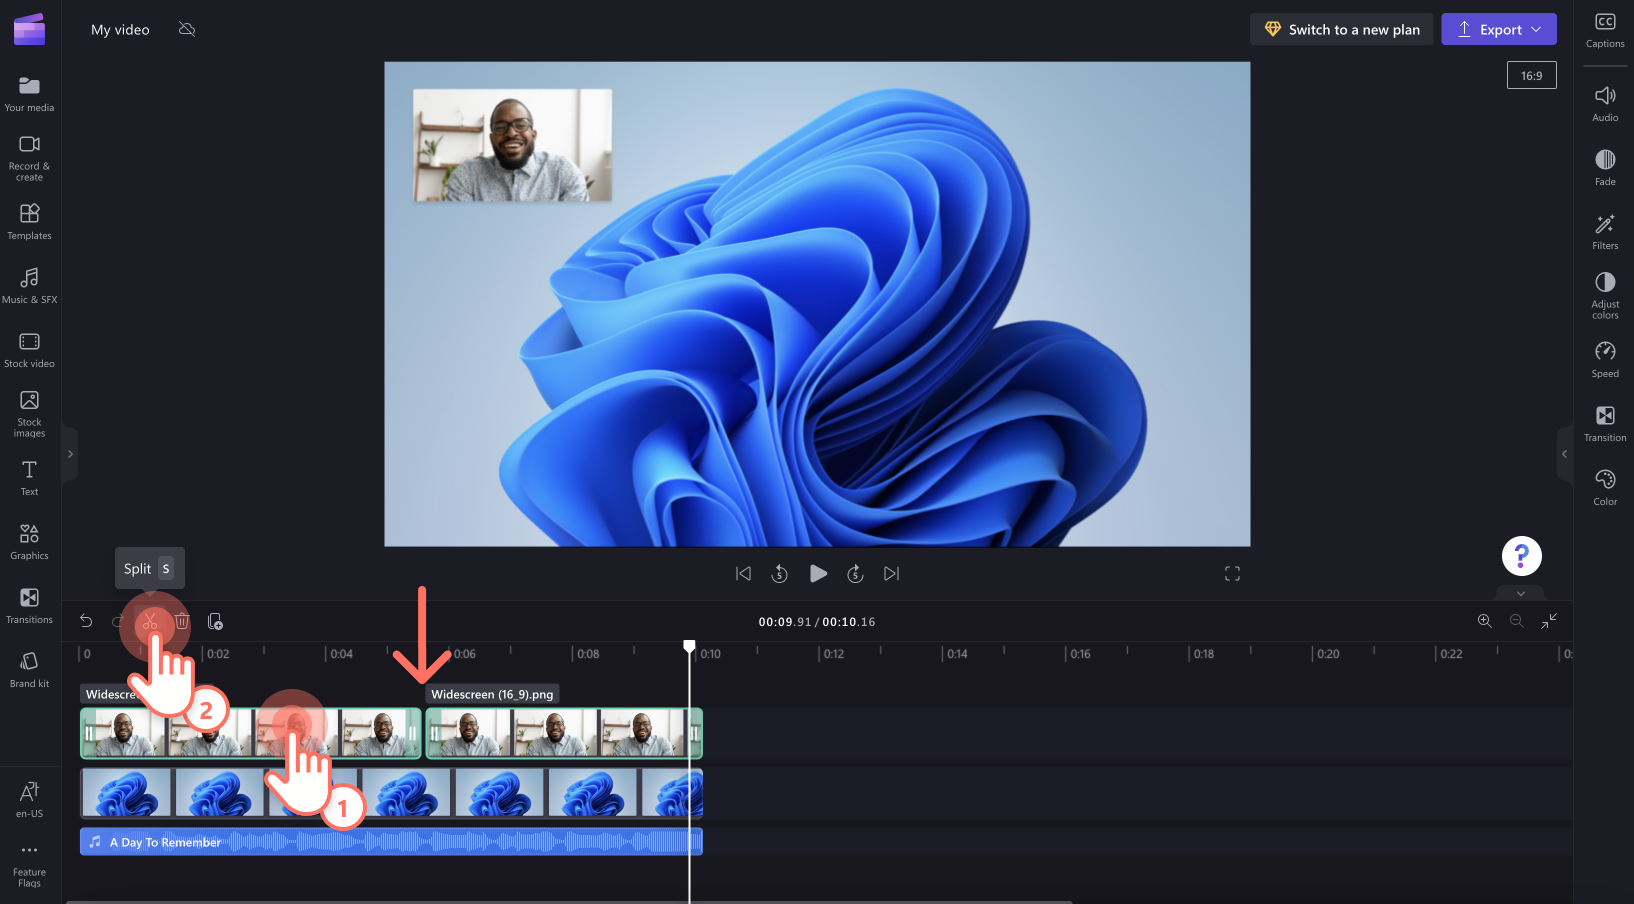
B) Edit out mistakes
Click your timeline video and make sure your video is highlighted green. Place your cursor at the time length you would like to crop. Click split to cut your video clip.
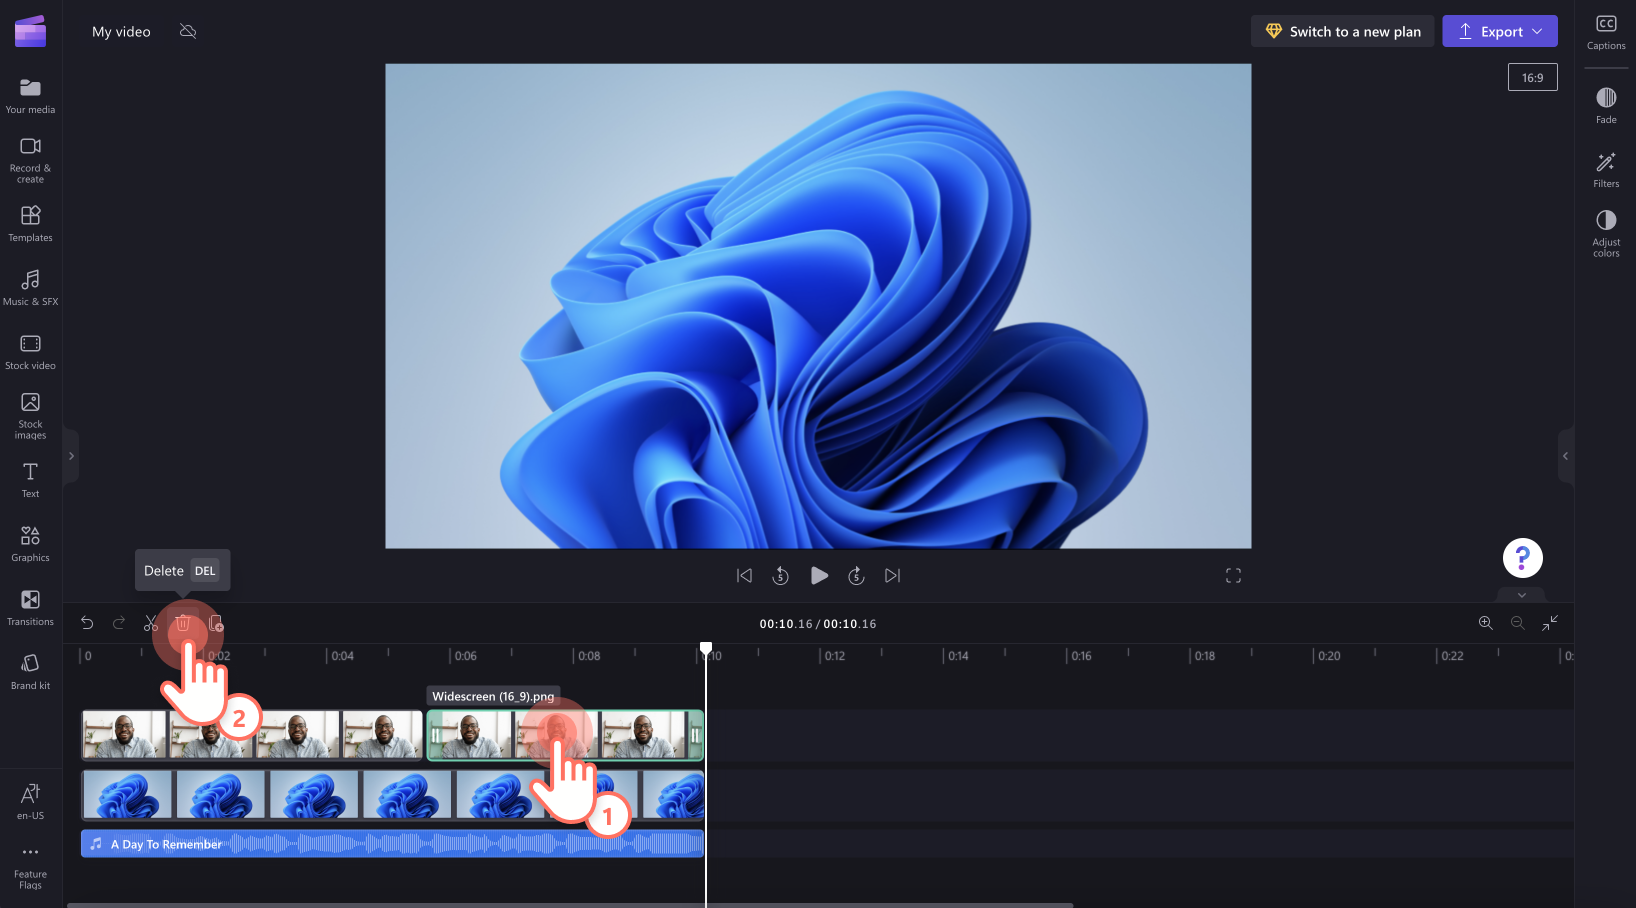
Then click the delete button to remove your unwanted clip.
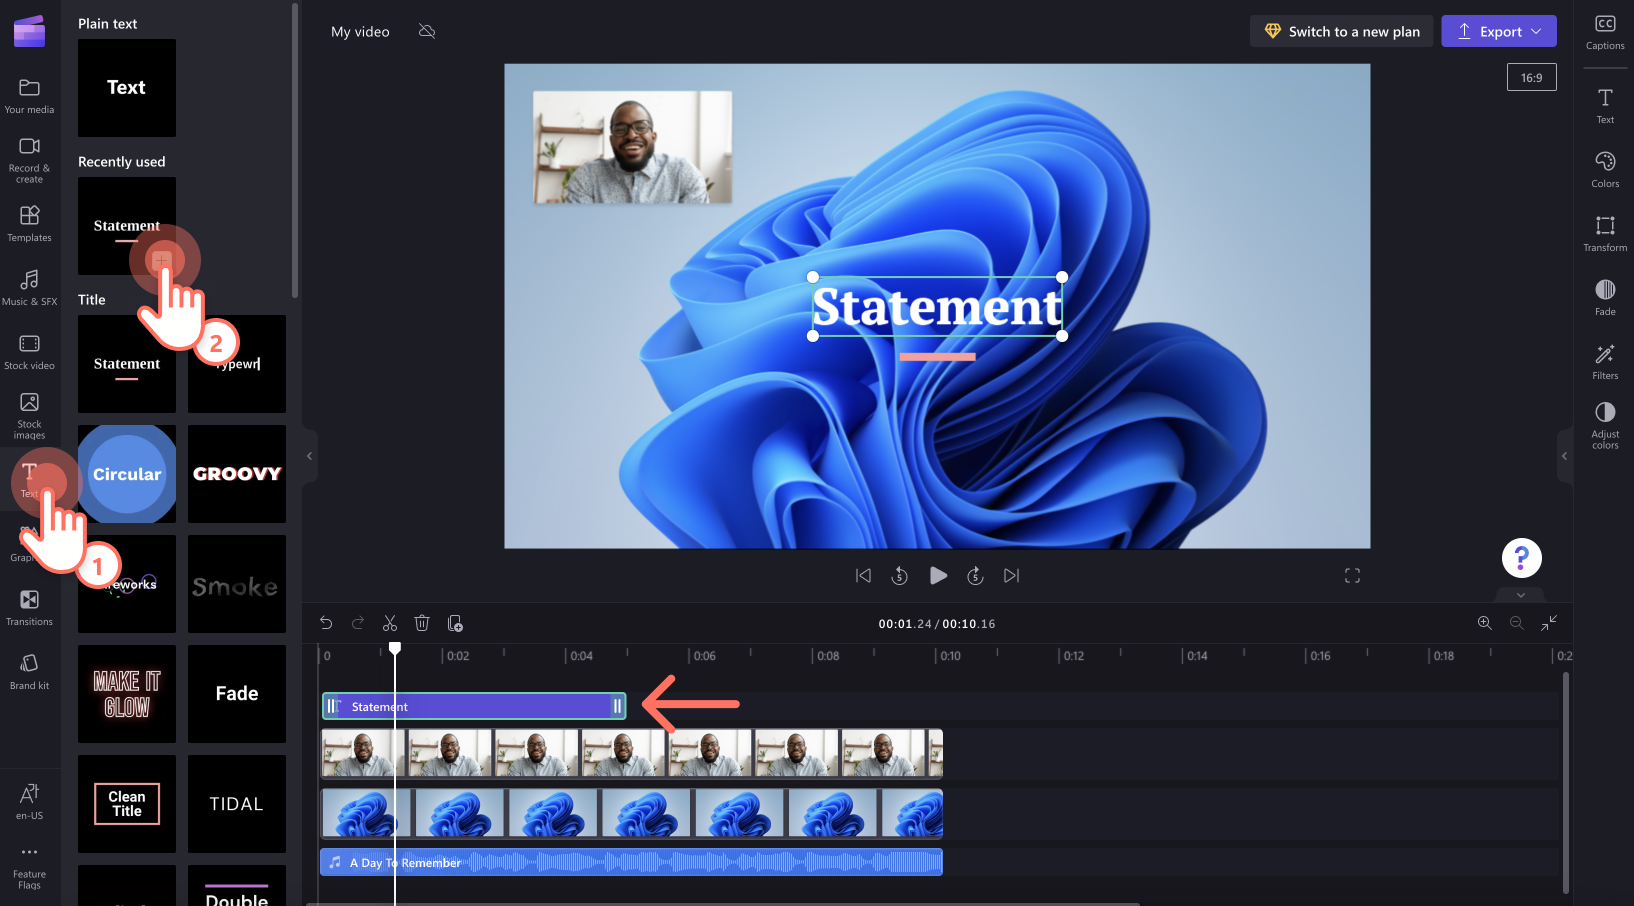
C) Add text
Click on the text tab located on the toolbar. Drag and drop your desired title onto the timeline. Change the text, add your brand logo, and alter the size and color.
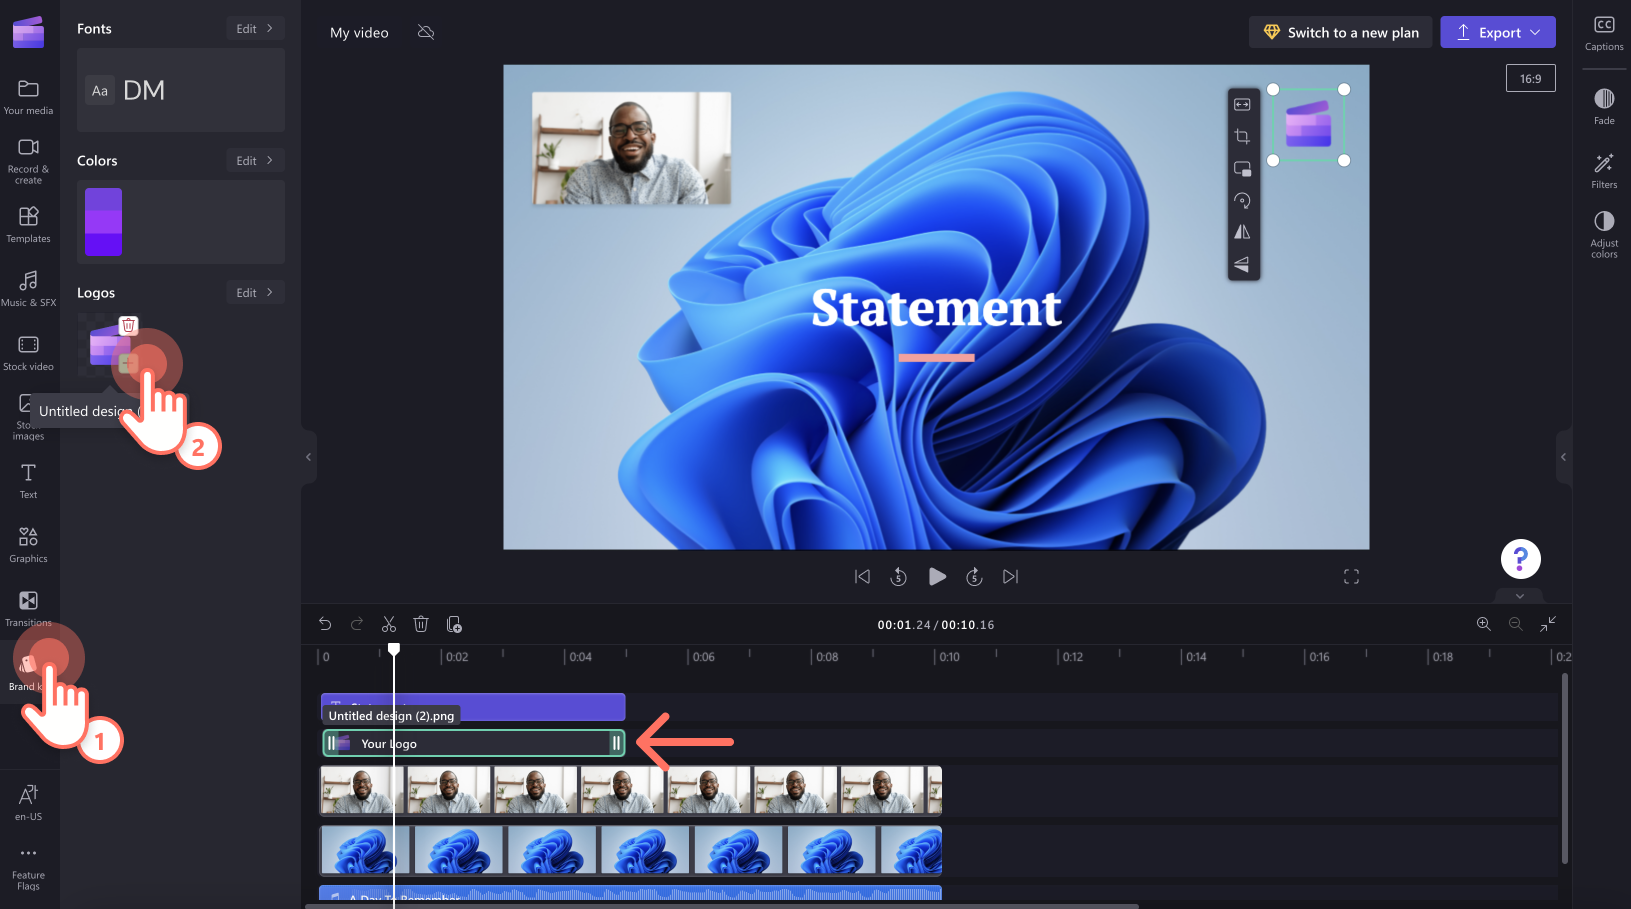
D) Add branding
Click on the brand kit tab on the toolbar. Drag and drop your business logo onto the timeline to add it to your video.
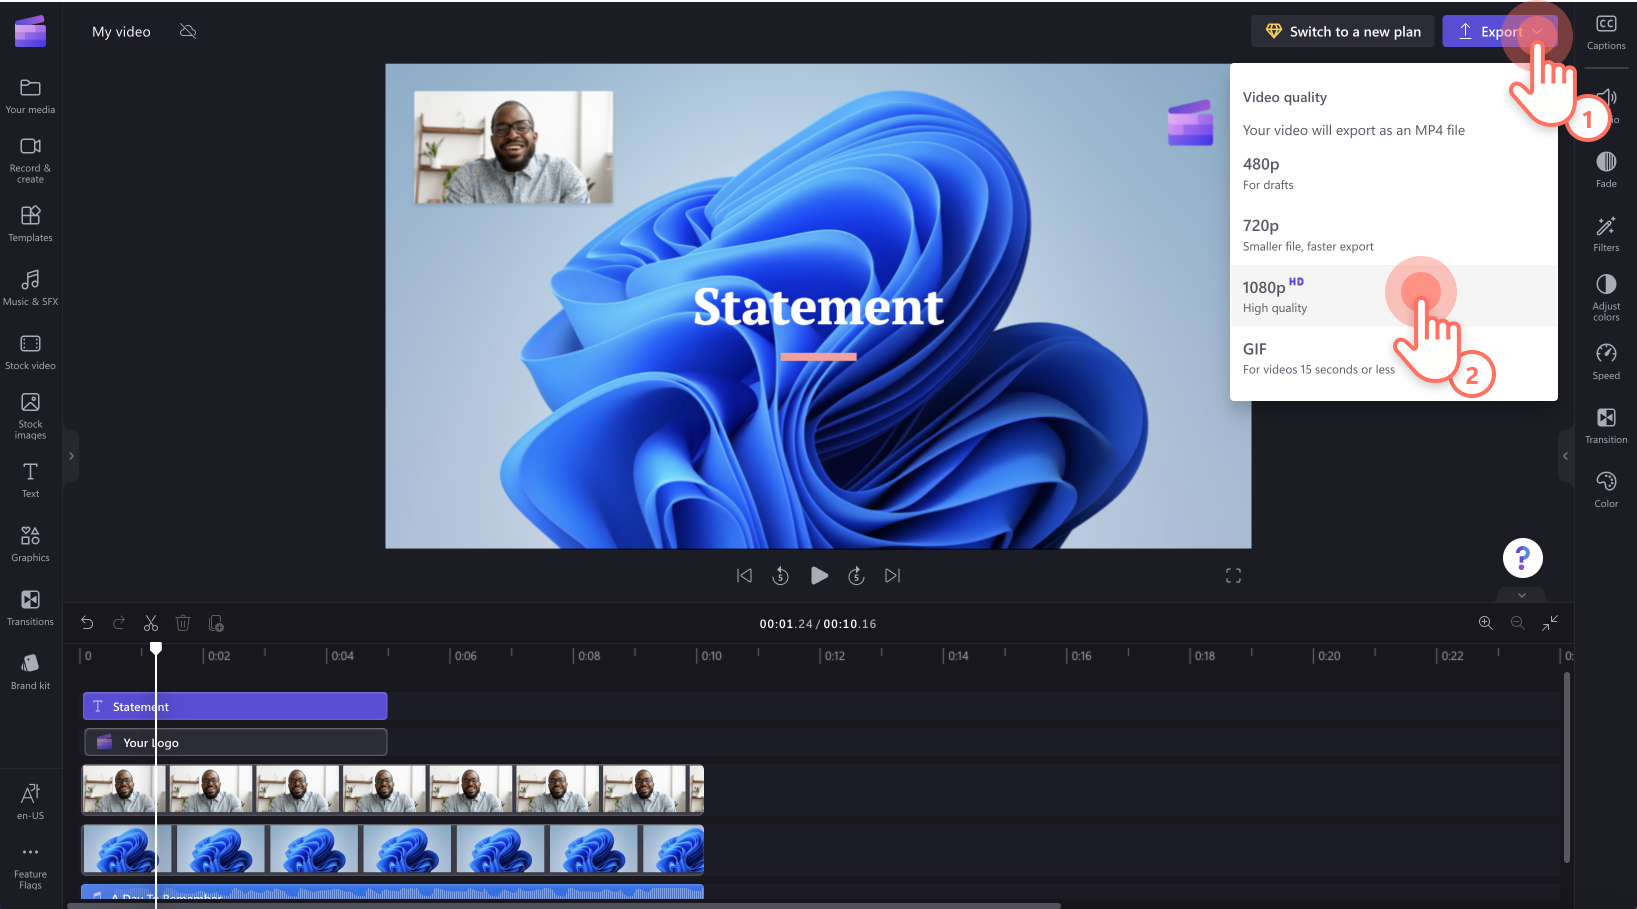
Step 6. Export your screen and camera recording video
Once you're happy with your video, click on the export button at the top right corner of the editor. Choose your saving options. Save your video in 480p, 720p or 1080p resolution.
Try it out
Go to Clipchamp to try it out for yourself.


